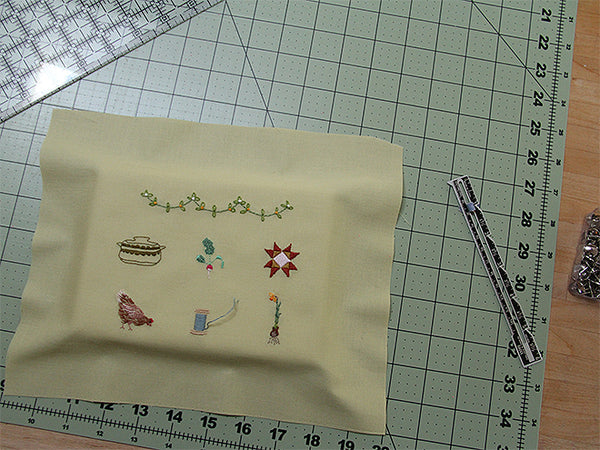
To wrap your embroidered piece around a canvas, trim it with the design centered and leaving a 4" border around the design area on all sides. So if your canvas is 5"x7", trim your piece to 9"x11". Lay the design right-side-up on the canvas and eyeball it to make sure it is centered.
Holding the fabric in place, flip it all over and tack the two long edges down with a few tacks. Don't push them all the way in (this will make it easier to adjust if you have to).

Don't pin the corners. Fold in the short edges and add a few tacks in the center of those edges. Then turn it all over and make sure everything is still all centered.

Adjust your tacks on the back until you get everything exactly where you want. Use a little ruler to measure the margins and make sure they are even all around.

Now take that loose fabric at one of the bottom corners and fold it so that you have a neat fold pointed toward the bottom of the frame.

Add a few more tacks and get the bulk of that corner fabric neatly tacked down. Repeat for all four corners, folding all corners toward the bottom of the frame instead of the top.

If you're happy with how everything looks, go ahead and push your tacks all the way in. It can be helpful to use a flat ruler between your fingers and the tacks for leverage.

Cut a piece of felt so that it is a scant 5"x7". Run a little bit of fabric glue (I use Fabri-tac) around all edges of the felt.

Press the felt onto the back of the work over all the tacks and press around the edges to secure. Fabri-tac dries very quickly, but if your glue is slower to dry, just make sure it is secure before you move on. Use your ruler to find the center of the top long edge of the canvas and make a little mark.
